

Whiten Your Teeth at Home with Smile Brilliant!
We have finally solved the yellow teeth dilemma.
The #1 dentist recommended teeth whitening method is using custom-fitted whitening trays. Smile Brilliant has teeth whitening trays that ensure that every angle of every tooth (regardless of whether your teeth are straight or not) receives even and consistent coverage of their professional strength whitening gel. Smile Brilliant offers professional teeth whitening for 70% less (than $500+ for the exact same service) and up to 5x faster than the average U.S. dentist!
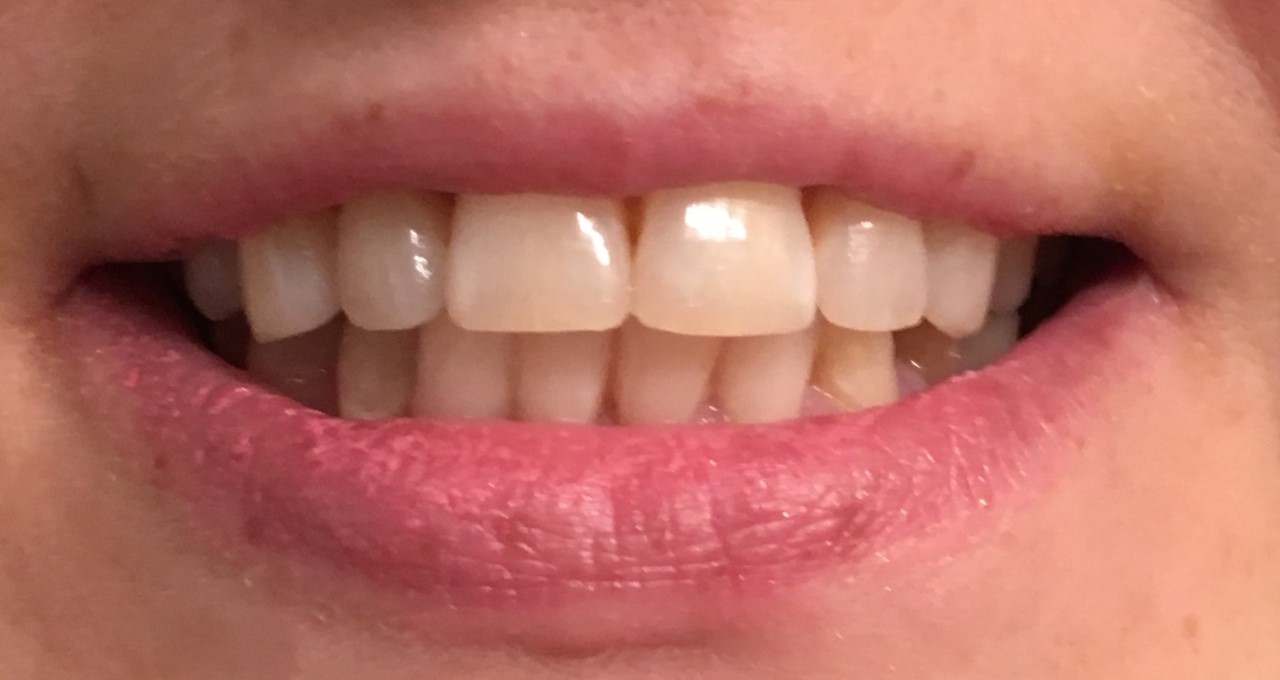
Before
I will be using Brilliant White for four weeks and posting an ‘After’ pictures of my results. I will be using the Smile Brilliant T3 Sensitive System which is a custom-fitted teeth whitening kit for sensitive teeth. The fun part for you is that Smile Brilliant is offering my readers a chance to win your very own system through the giveaway link below! If you are not the lucky winner, don’t despair! Smile Brilliant is also offering a 25% discount to everyone on their custom fit whitening trays with the discount code ‘SMILEFAM25’ upon checkout at www.smilebrilliant.com. Cheese!

Discount Code! Enter the code SMILEFAM25 to save 25% on custom-fitted whitening trays!
Step one was making a dental impression with the provided materials in the Smile Brilliant kit. The process took about 20 minutes in total with 6 minutes (3 minutes per impression) of having to keep my mouth closed with a mold tray in my mouth. It was a relatively cut-and-dry process and I used the timer on my cell to make sure that I allowed 3 minutes to pass because taking out the tray before the material sets can damage the mold. Once your molds are dry, you pop them both into a package to ship back to Smile Brilliant to make your custom fit whitening trays. I liked getting an e-mail notification that the package arrived safely and since my impressions were good to go, all I had to do was wait to receive the whitening trays in the mail to start the next step in getting whiter teeth!
Here are some tips for making the impressions:
- Dental impression tips: http://www.smilebrilliant.com/articles/dental-impression-tips
- Dental impression instructions: http://www.smilebrilliant.com/articles/at-home-dental-impression
- Dental impression pointers: http://www.smilebrilliant.com/articles/dental-impression-pointers
Step two was the whitening process after I received my whitening trays in the mail. The trays took about two weeks to receive from the initial day I sent the molds back to be made and (luckily) I did not have to repeat the process of making a new set! The molds fit perfectly on my teeth and the first night that I used the whitening and de-sensitizing gel, I went over the whitening tips to make sure I was following all the instructions! To be honest, it wasn’t exactly the most comfortable process. The first time I used too much gel (Ouch!) and after 15 minutes of having the trays in, my gums started to sting. I learned from the experience that a little bit of the whitening gel goes a long way and after 45 minutes I noticed that my teeth were whiter from the process. One application down and at least 6 more to go for the best results!
Here are some EXPERT whitening tips:
Teeth Whitening Step-by-Step:
1. Brush teeth with water (not toothpaste, fluoride slows down the whitening process)
2. Whiten for 45 minutes-3 hours (3 hours max per day! Do not whiten overnight, it can cause extreme sensitivity)
3. Brush teeth with a non-whitening toothpaste
4. Rinse trays out with cool water
5. Desensitize for 20 minutes (do not drink or eat for 1 hour after each session)
6. Remove trays, but do not rinse your mouth or brush your teeth, just spit (leave a thin layer of desensitizing gel on your teeth)
7. Sleep! It is the best to whiten before bed so you are not introducing any staining food or drinks.
- The average person will need 7-14 daily applications to remove all stains from their teeth. And remember.. 1 gel syringe is 3-4 full applications (covering both the upper and lower teeth).
- To obtain the best results, avoid consuming coffee, tea, dark colored soda, red wine, berries, candy, red sauces, beets, chocolate or any other foods that have a propensity to stain your teeth for 24 hours after a teeth whitening session. This will help your whitening process!
Update: It’s been two weeks later and I completely got off my tooth whitening schedule. I changed to a new team at work, my older daughter has only 10 school days left of second grade and my whole family had the stomach bug last weekend. Sure, I could make more excuses……but I’m a working mom with two little kids and this is real life!
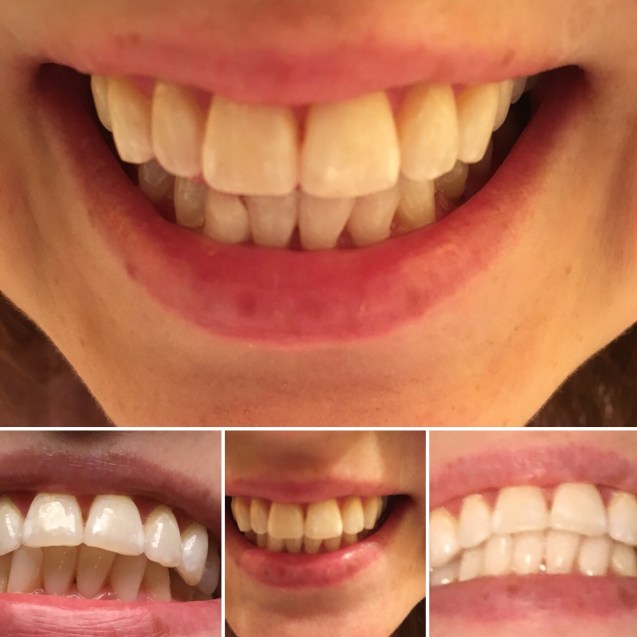
The good news is that even with my haphazard tooth whitening schedule, I still managed to get in 7 total whitening sessions. The sessions weren’t on consecutive days and I still drank coffee every day (except the stomach bug day) because – Duh – JAVA!!!! – but I still saw results. I also plan to do a few more sessions since I have several whitening tubes left and from my experience, my teeth are more white after every use. I got a lovely compliment from my husband on my whiter teeth so I’m impressed. For the purposes of my blog, though, I need to stop where I am now to finish this review. To be honest, the hardest part of doing this post was taking my teeth pictures. I now have about 50 pictures of just my teeth in my phone. I tried to capture the exact location, lighting and approximate time of day for the pictures and it was incredibly hard to get them exact. I also realized my smile is crooked so it added to the frustration of the experience. However, I have a lot of fun outtakes I will share with my wonderful readers below. What good is a beautiful smile if you don’t use it – right?!? Love.
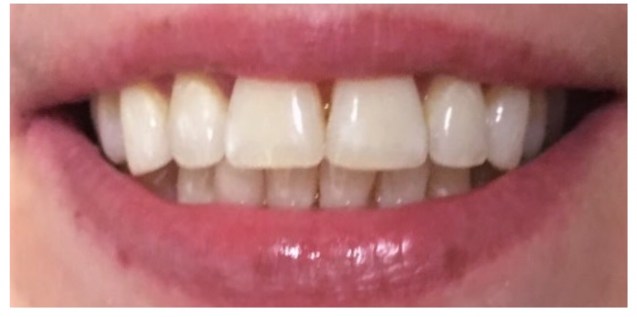
After
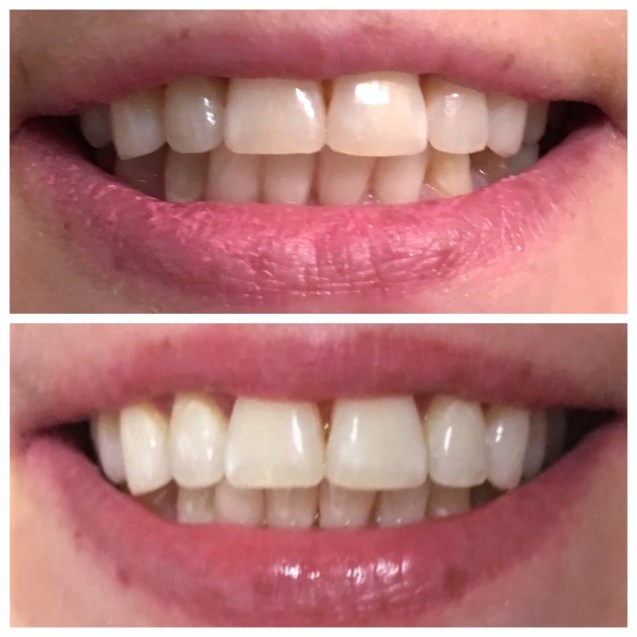
Side By Side
CHANCE TO WIN!
You have the exciting opportunity at a chance to win $149 in Smile Brilliant credit–the value of their
T3 Sensitive System!
www.smilebrilliant.com/g/mommasbacon
Open to Australia, Canada, United Kingdom and United States
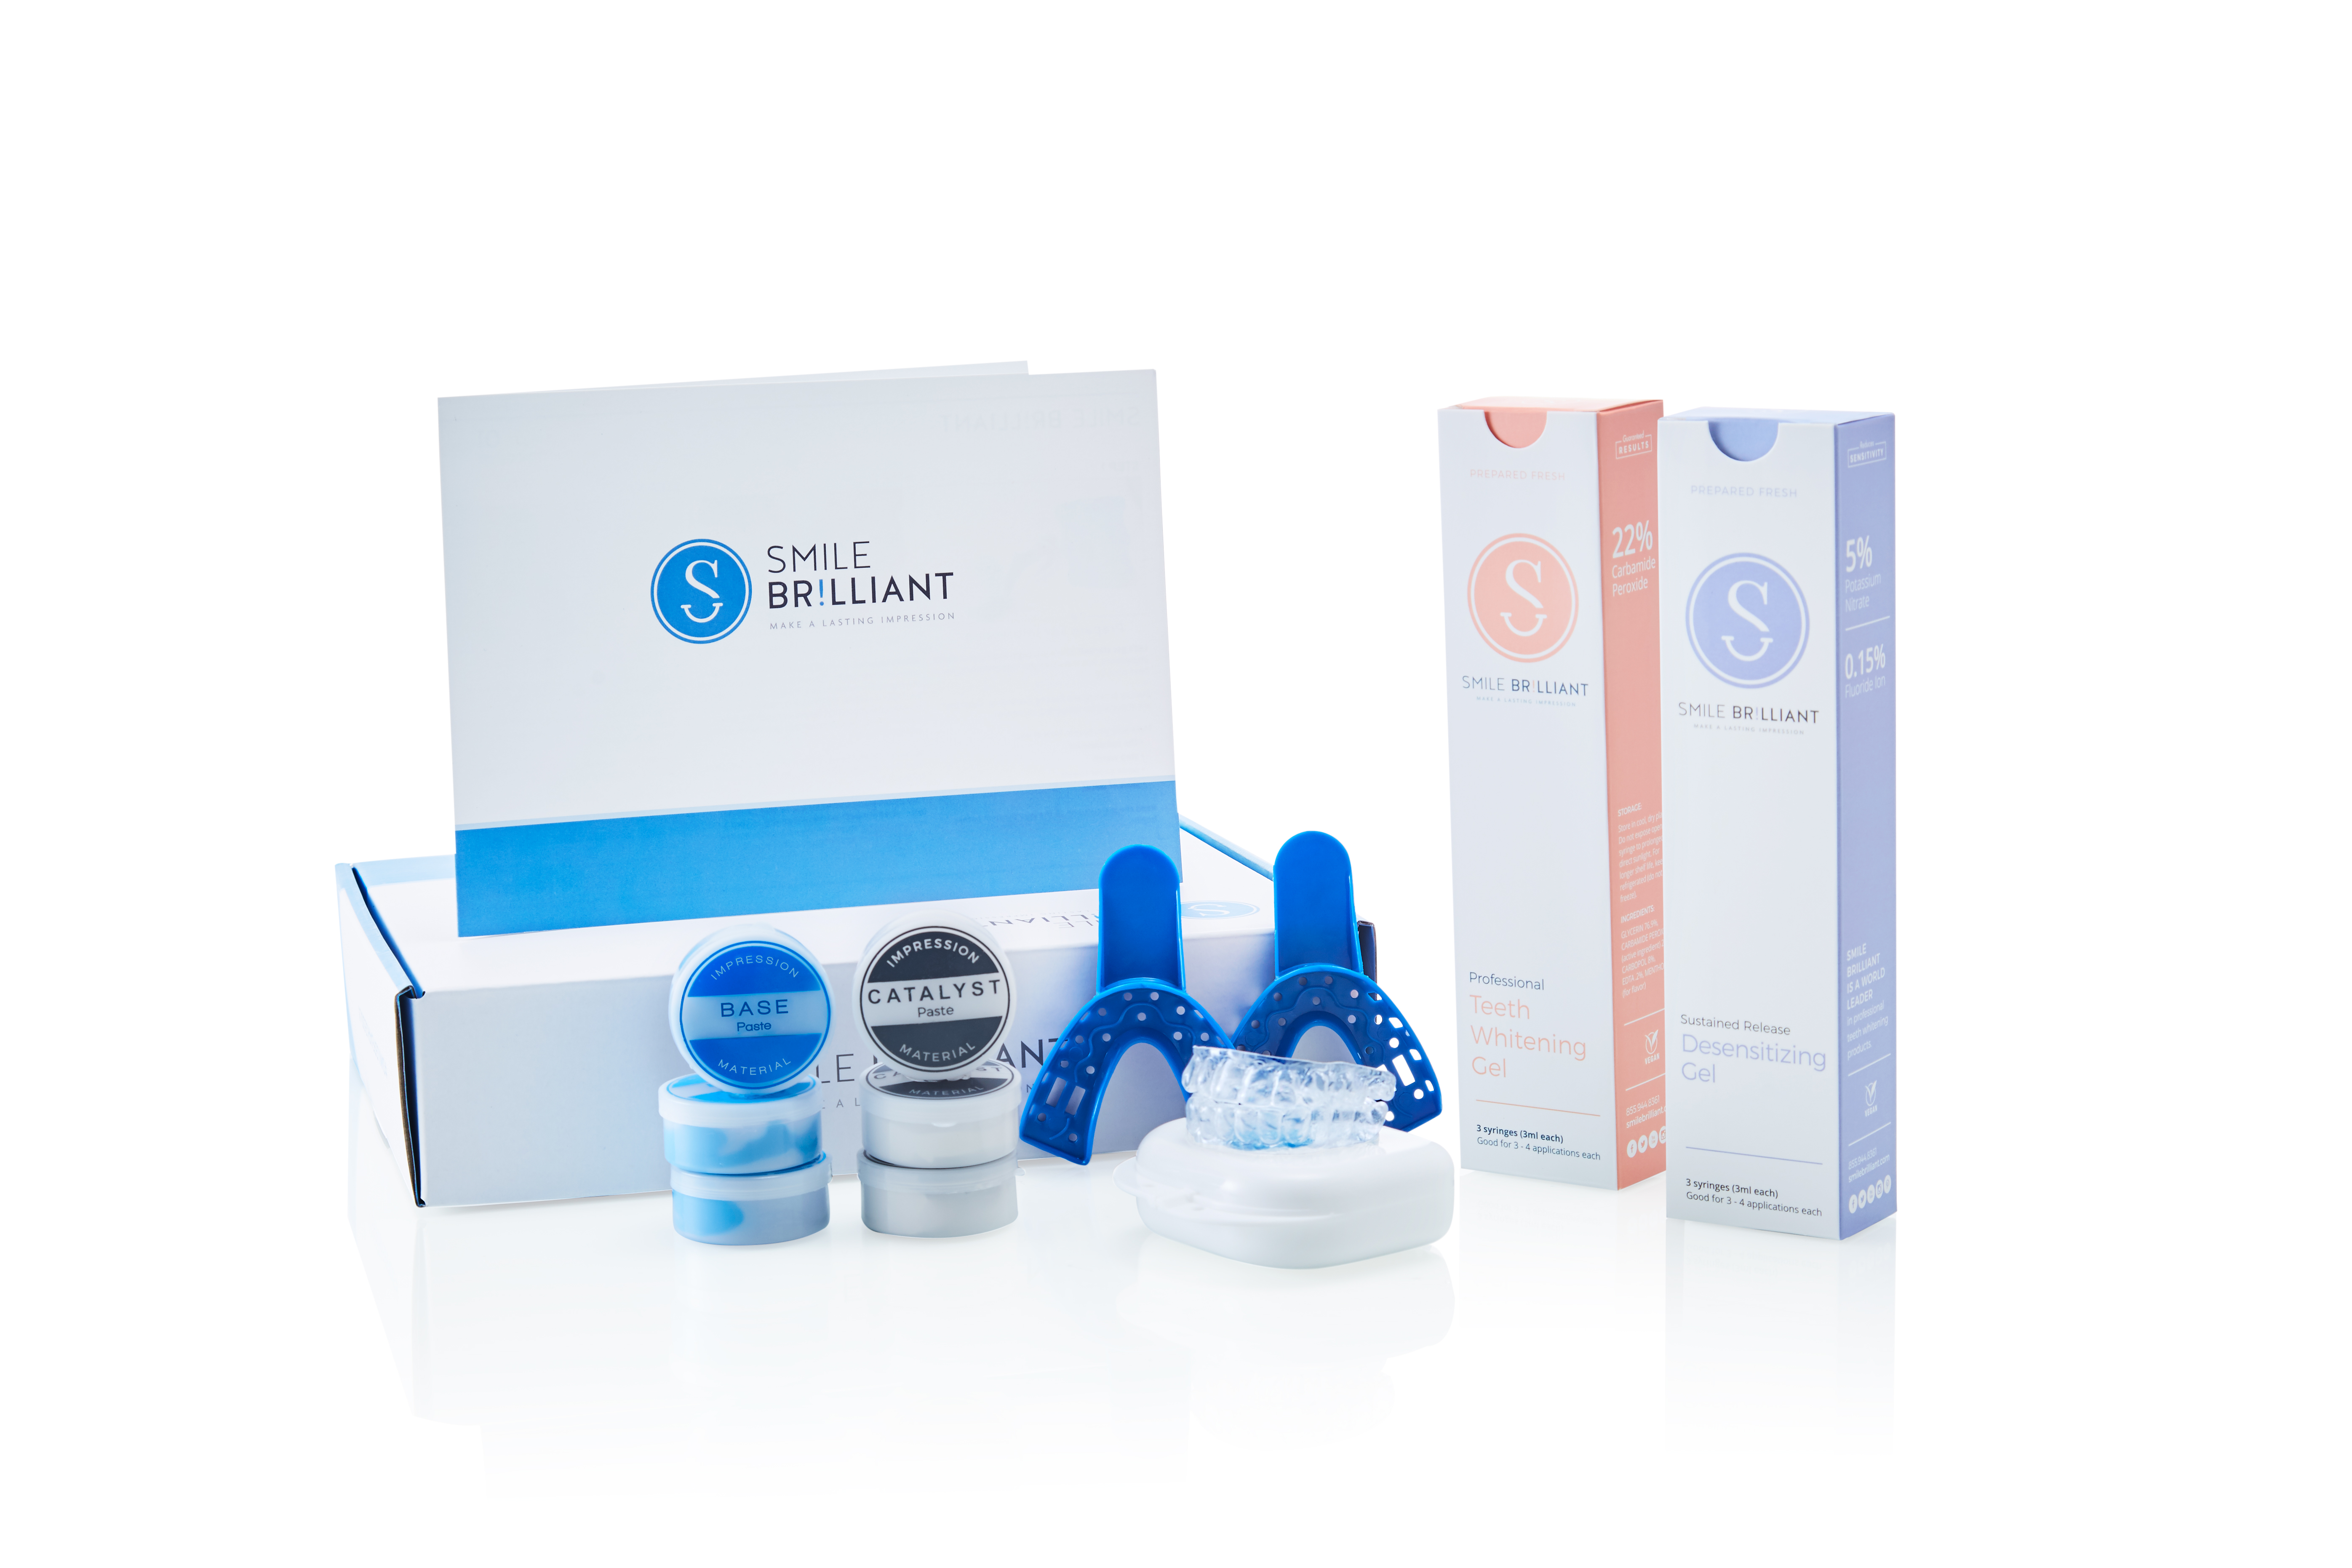
Custom-fitted teeth whitening kit for sensitive teeth (Valued at $149)

Whiten Your Teeth at Home with Smile Brilliant!
https://www.smilebrilliant.com
List Price: $ 149.00 (Custom-fitted teeth whitening kit for sensitive teeth)
Tooth Outtakes!
Tooth Whitening Gel
//www.smilebrilliant.com/widget-article/mommasbacon
