
Creativity in clay!
It started a few months ago. Brooke told me she wanted to make her own beads. My daughter is a (soon-to-be) kindergartener so she is young and I spend a lot of time trying to figure out fun projects we could do together. But making beads?! She wouldn’t let the bead thing go and I wondered if that was something a little too old for her. She has been collecting beads for over a year and she just decided she wanted to start making them. I had thought maybe it was a passing thing, but she kept reminding me she wanted to do it. So, I do what I normally do when I have no idea how to do something and want to learn. I researched.
I watched several videos on bead making and ran across a company called Scupley. Sculpey has several different types of clay to choose from and it seemed that Sculpey III was the perfect medium for anyone who likes to create. It looked simple to use and is a popular oven bake clay that maintains tooling and detailing beautifully. I figured that I would be the one that would be making the holes for necklaces on each bead but Brooke could make the beads herself, but I had no idea how this whole endeavor would turn out. Yet, I am always surprised what kids can do when they are interested. Her beads may look better than mine!
If you are going to make beads from clay, you need tools. Sculpey has several bead making kits that will give you all the essential tools that you need to make beautiful beads. The 10-piece set seemed like the perfect start for us and it included a bead making guide and storage pouch for the tools.
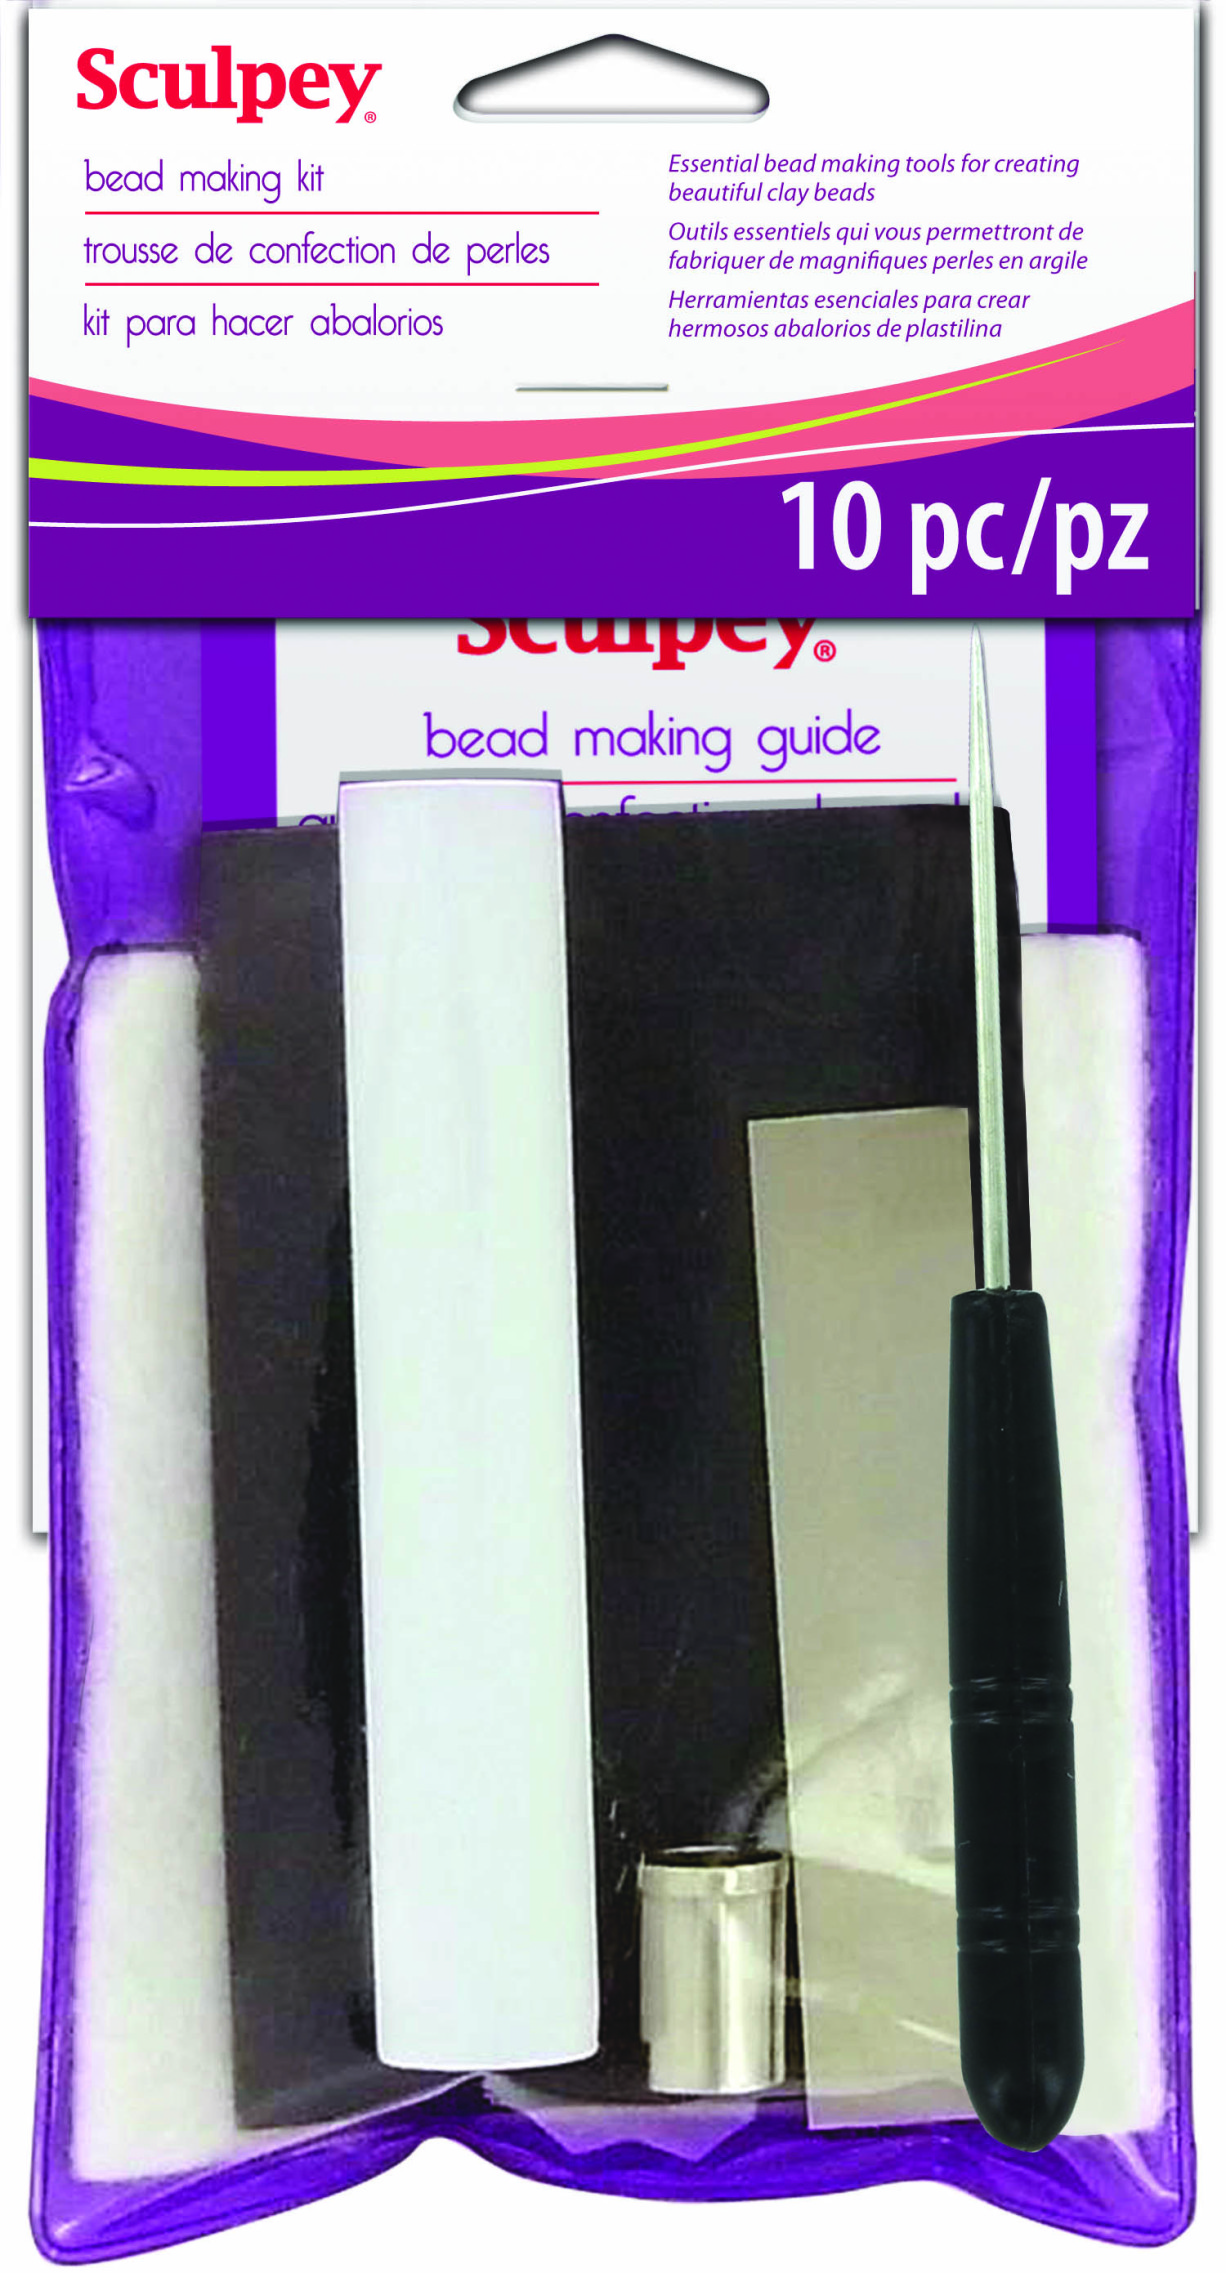 Sculpey Bead Making Kit
- Clay Baking Cushion. Who knew? I learned that reusable clay cushions are perfect for baking beads in order to avoid distortion and shiny bottoms.
- 400/800 grit wet/dry sandpaper: Sandpaper is a way to create smooth finishes once your beads are baked. You can also use sandpaper to texture clay before it is baked.
- Blade: This is where momma comes in to help. Clay blades are sharp so that you can make clean, straight cuts and edges in your beads.
- Circle Cutter: There is a secret to making the same size bead every time and the circle cutter is like a cookie cutter for bead clay makers.
- Needle Tool: This may be the most important tool in the kit. A needle tool is used to pierce unbaked beads and to make holes to include on necklaces. You can also use a needle tool for texturing and creating fine details and patterns in your clay.
- Lentil Bead Tool: The lentil bead tool is used specifically to make lentil shaped beads. There is a lot of technique used to make these flat, lentil-shaped beads, but they are beautiful in design.
- Clay Roller: Just like making good pie crust, you need to roll out smooth and even sheets of clay and the clay roller is perfect for that.
 Swirled lentil bead earrings. (cite: sculpey.com)
Sculpey III Clay
After you have your tools, the next step is getting the perfect polymer clay for your bead making experiments. The Sculpey III 30 color sampler is one of Sculpey’s best sellers and a great tool for first-time bead makers. The set includes thirty 1 oz. bars in different classic, bright, natural, pearl and pastel color ranges. It is a great and economical way to experiment making clay beads. Colors include : Black, Emerald, Violet, Yellow, Teal Pearl, Camouflage, Red Hot Red, Just Orange, Ballerina, Lt. Blue Pearl, Translucent, Sweet Potato, Blue, Deep Red Pearl, Pearl, Spring Lilac, Suede Brown, Granny Smith, Gold, Lemonade, Gentle Plum, Hot Pink, Chocolate, Beige, Turquoise, Leaf Green, Sky Blue, Silver, Red, and White.
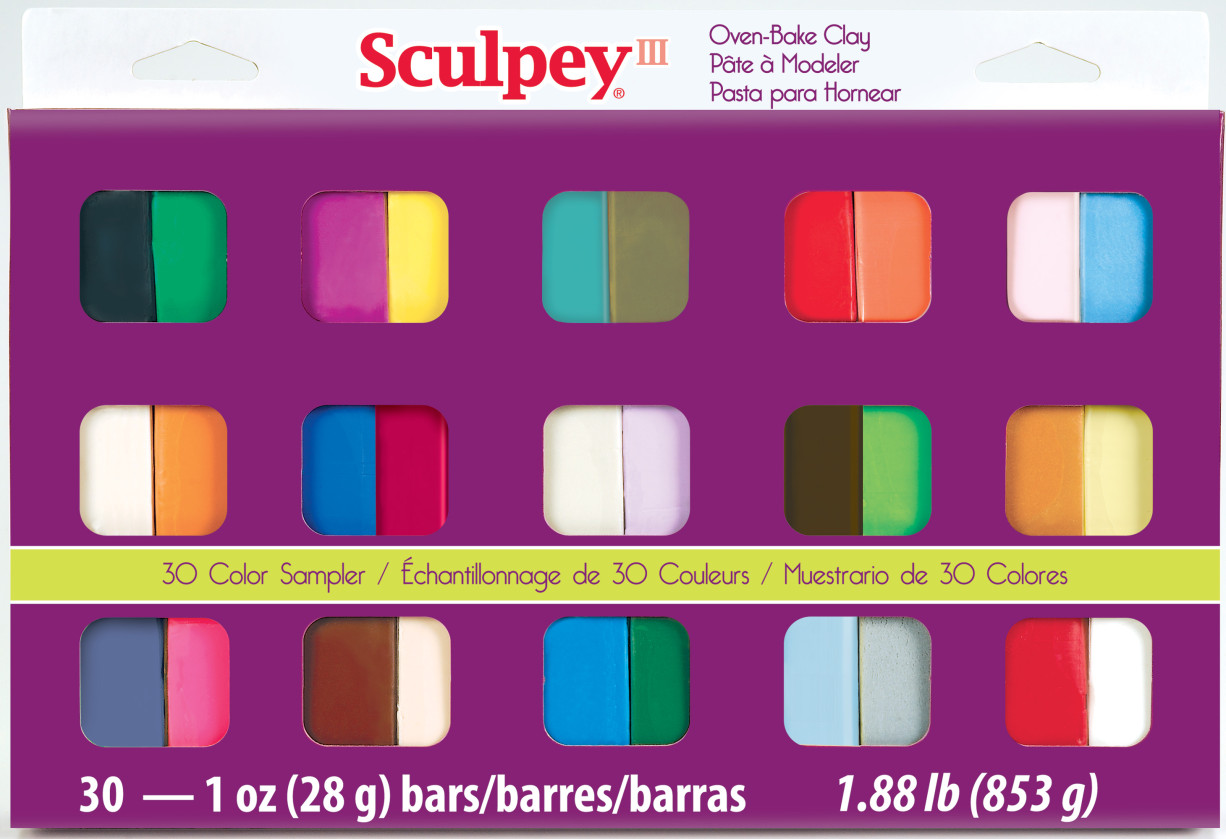 Sculpey III 30 color Sampler Pack
Clay Techniques!
After you have your tools and clay, you need to start looking at bead making techniques. There are so many different clay making techniques to choose from and I was looking for simple. I decided that starting with jelly roll canes would be the first easy technique for Brooke and I to master. It mostly required good rolling skills and something I felt comfortable with us trying together.
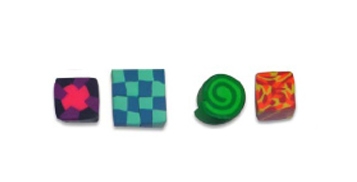 Different types of simple canes when making clay jewelry. Can you guess which one is the jelly roll?
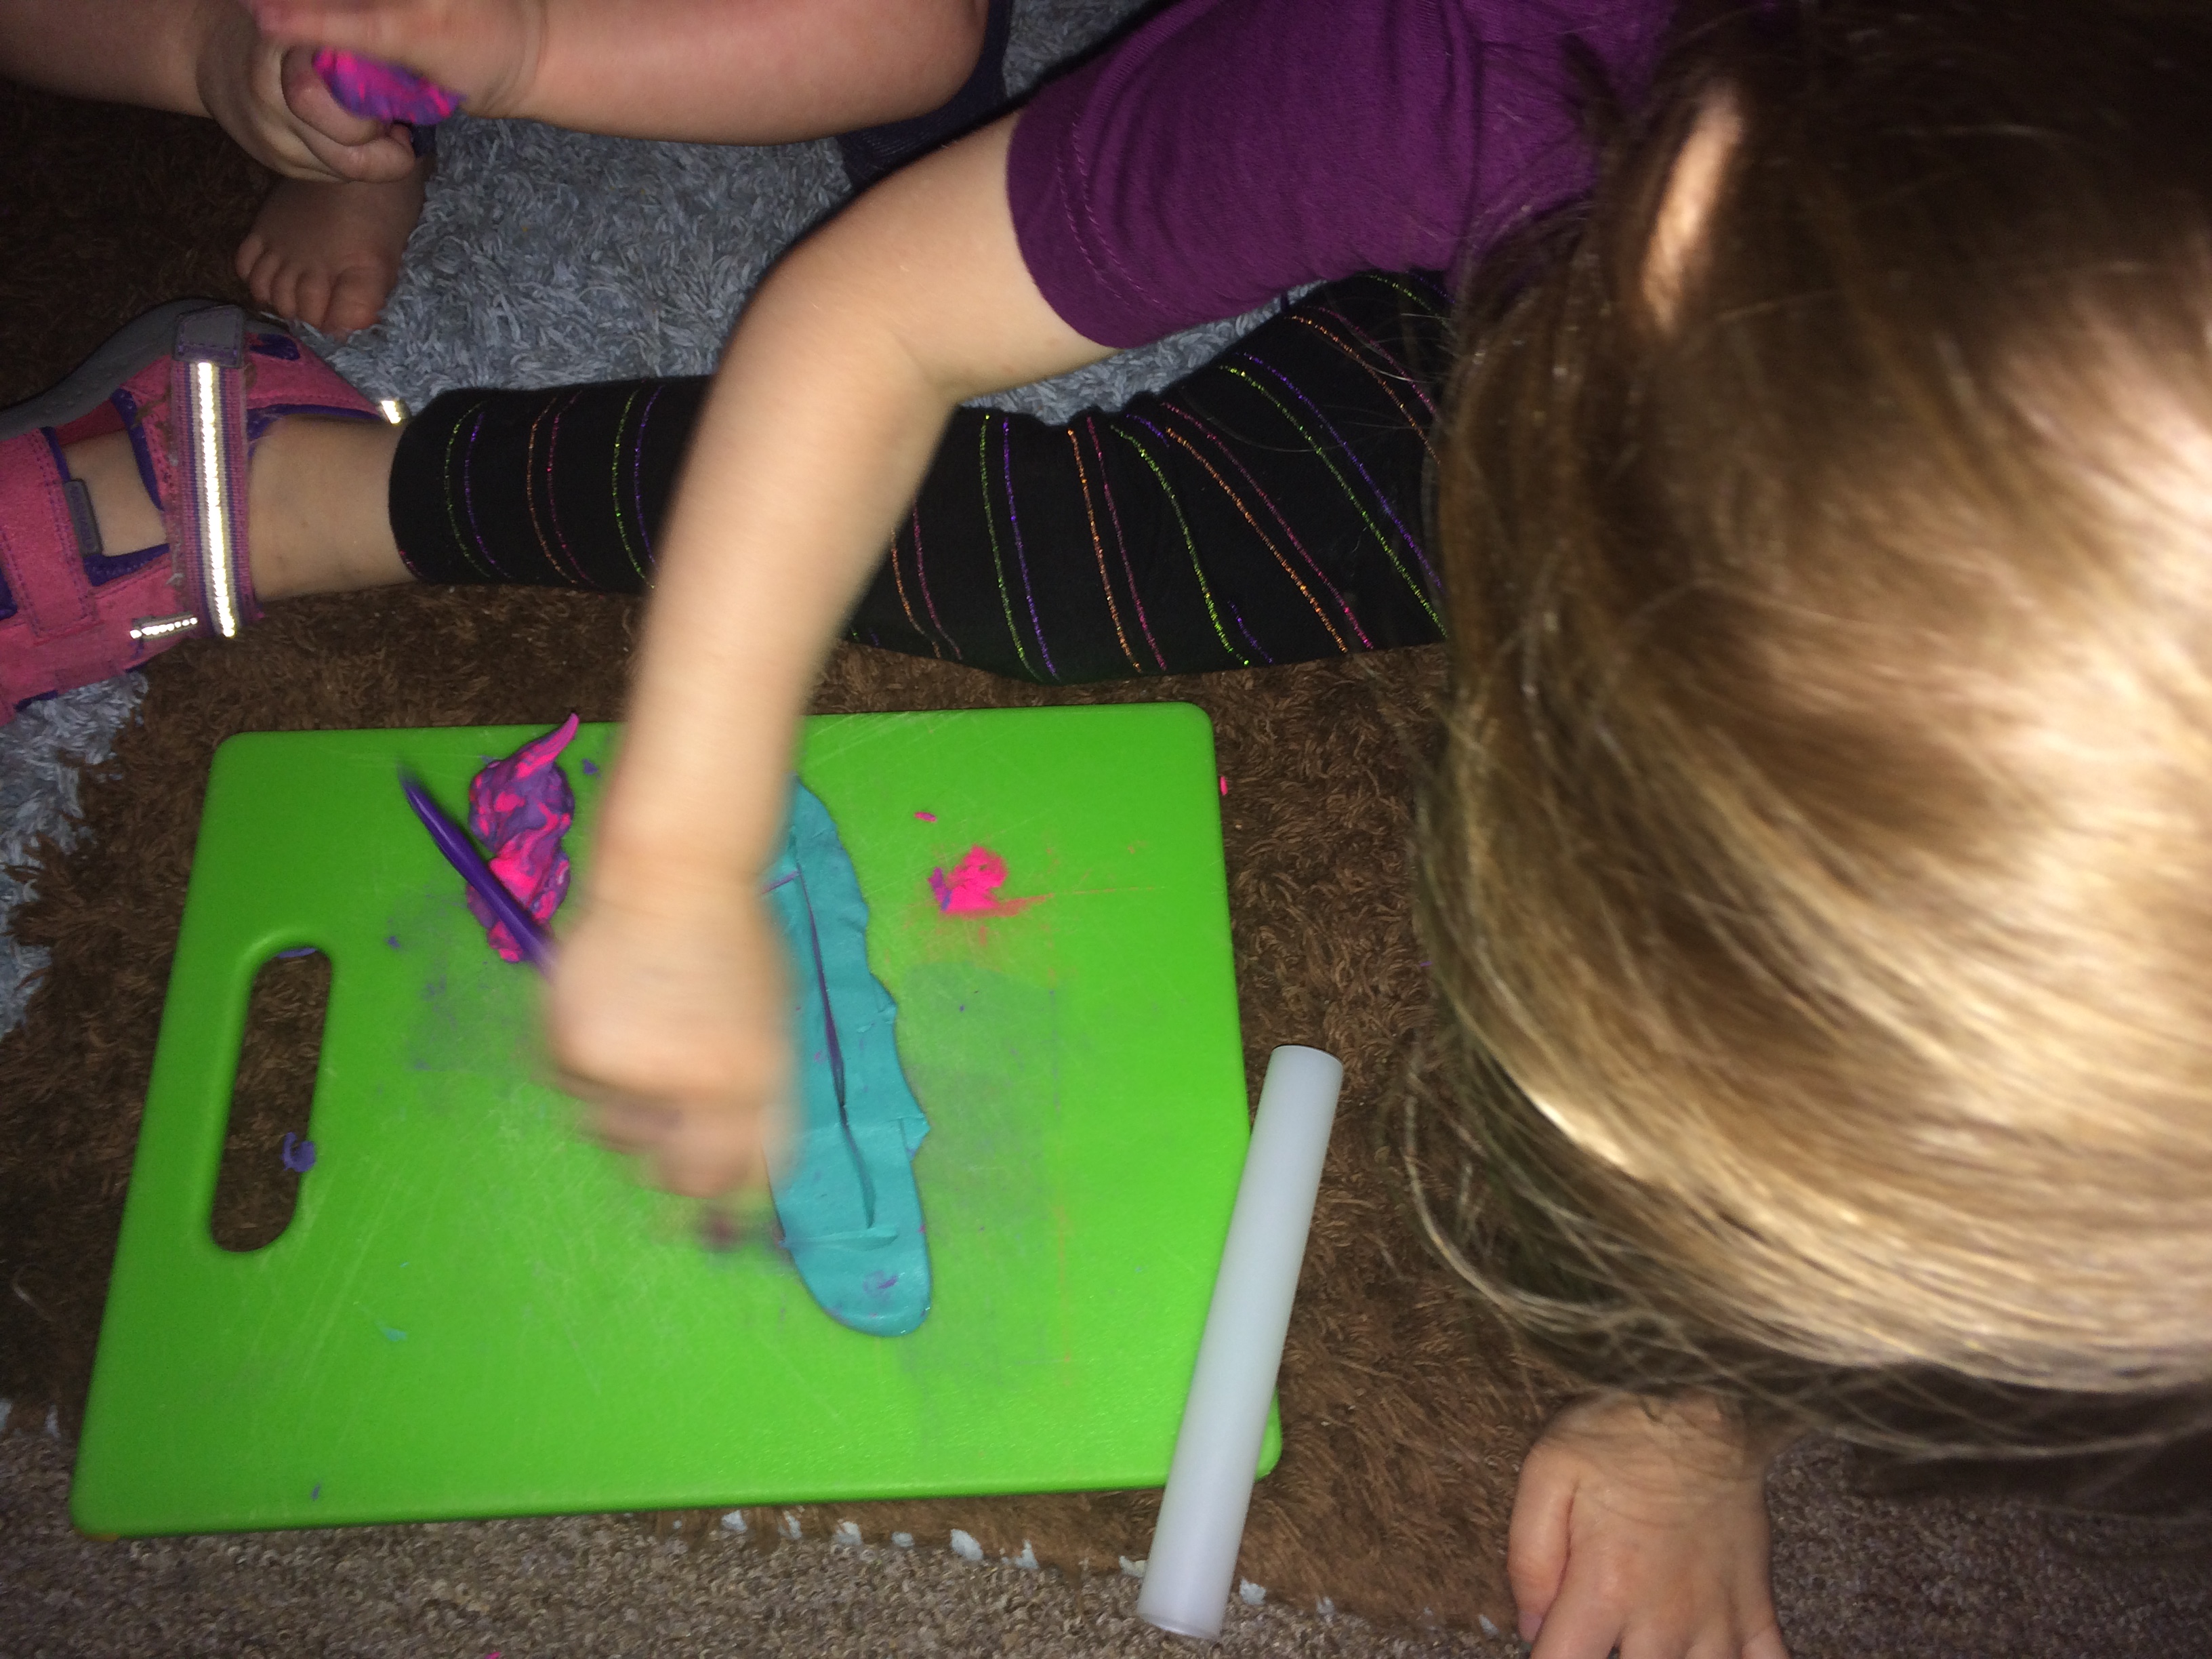
The most surprising thing to me was that the prices of jewelry making kits and polymer clay are quite affordable and fun. If you get really good at making awesome looking beads, you could definitely make a profit if you decided to sell them. We are far from that step, but we are having a good time making cool looking beads from the simplest techniques. Brooke is taking this task quite seriously and she has become quite methodical in rolling and making jelly roll beads. We even tried our hand at making a lentil bead, which came out…interesting! She even made a few Brooke-only techniques because the most important thing to us in the process is having fun. While I was a little hesitant at first to start this process with Brooke at a young age, I’m glad I did and I am encouraging her to continue her interest. We’ll see how far her love of bead making will go and for right now we are certainly enjoying the process.
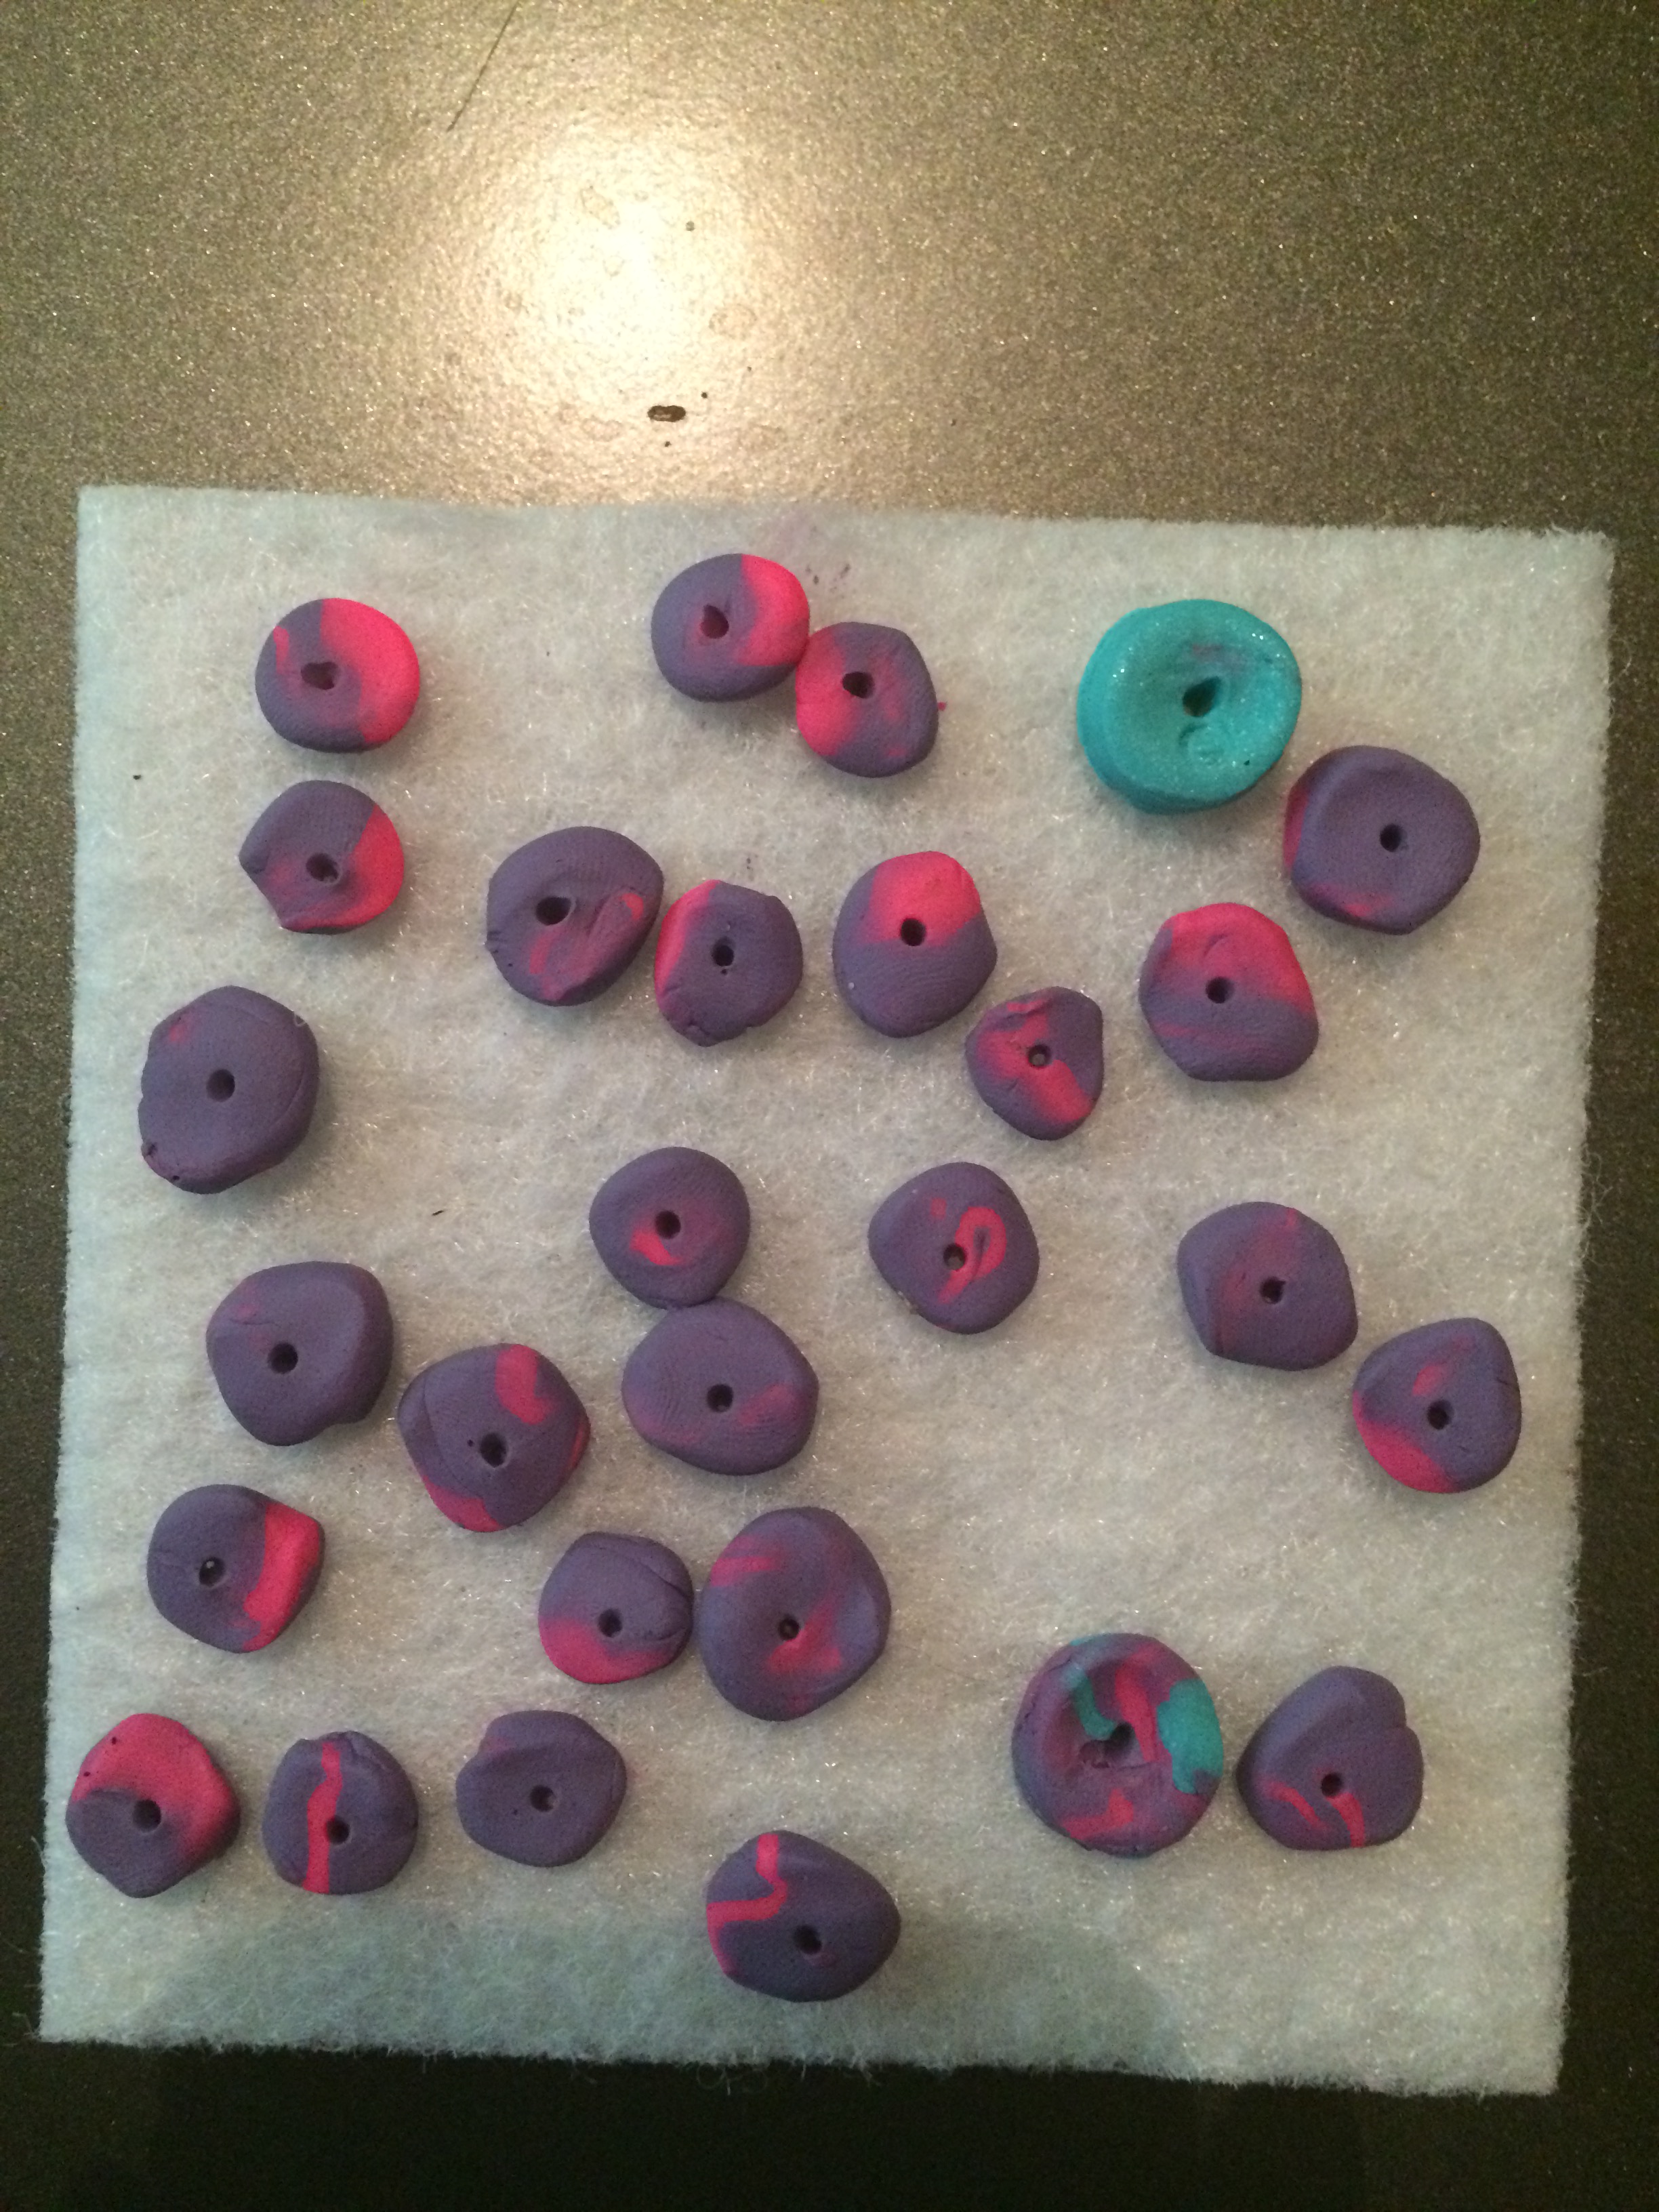
 Our very first attempt at making beads!
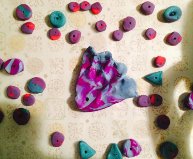 See! We got better the more we practiced and can’t wait for more time to hone our craft. This is a wonderful project for kids and, while we are starting with simple styles, Brooke had a whole lot of fun. Now I just need to get some stretching string to complete the necklace. D’oh!
List Price: $ 26.49 (Sculpey III 30 color sampler) and $ 10.16 (Sculpey Bead Making Kit)
